♫ JYJ - Only One (인천아시아드송)
Hello again! It's time for another one of my (rare) tutorials! (≧∇≦)
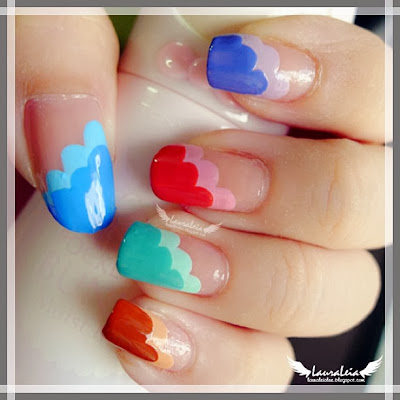
I've been trying out some simple freehand nail designs lately, and this pretty 'cloud layer' look has been my most recent obsession. I first saw this design on Nailside (her designs are gorgeous!) but never got around to trying it. Now I've finally given it a try [thanks to this tutorial], and I'm amazed by how easy and pretty it! You just need a couple of complimentary nail polish colours; there's no need for any nail art brushes or anything!
First of all, you'll need to get your polishes ready. Here's what I used for this tutorial:
- The Face Shop base coat
- Etude House nail polish in SPK001
- Revlon Top Speed nail enamel in "Pink Lingerie"
- Holika Holika nail polish in #03
- Random brand top coat
For this nail art, I'd highly recommend you use colours that are opaque in one coat, as it involves several layers of nail polish. A fast drying top coat is vital too, as you wouldn't want to smudge the design. Below is a downloadable JPEG version of the tutorial. ^^
 |
| Right click and open in new tab to view full-size |
 |
| Turquoise and pink clouds |
 |
| Rainbow layer clouds |


10 comments
this is really nice ! O_O
will try this with polka dots haha
simple but brillant idea ~ thanks ~
ms bulat: I'd love to see your polka dot version! :D
Jolie: You're welcome; and thank you! ^^
so cool! imma gonna try out!
Look so easy, gonna try it soon! =)
It looks really pretty, especially on bare nails. I will try to do this, when I find the time. :)
HerYuan: Show me after you've tried it! :D
Suzanne: Good luck! :D
Michelle: Hehe, thank you! I'd love to see what colour combination you'd use ^^
This is SOOOO cute!!
Nancy: Hehe, I think so too! :D Thank you~~ ^^
omg so nice!!! i want to try this out one day! :D
Post a Comment